This page contains help and tips for authors and editors working with the WordPress block editor and this site, MyOpenMath, or other OER platforms. This page is a work in progress, and we will work on including non PC and Windows tips.
Page content
Wisdom of an Owl
Do’s and Don’ts and other tips
Speed of a Slow Loris
Save time and speed up your work
How-Tos Guides
Online or downloadable guides
Video Tutorials
NSD OER Portal and MyOpenMath
Wisdom of an Owl

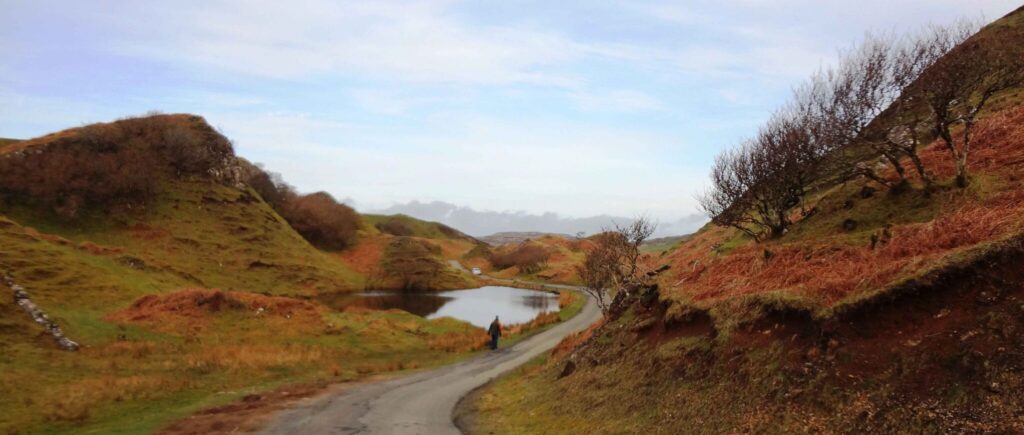
Meet Rockefeller, a felt version of her namesake who was in the Rockefeller Center Christmas tree. She seeks wisdom around the world and the WWW to share with snapshots of her favorite places.
Rockefeller welcomes corrections and suggestions.
“Closed mouth don’t get fed.”
Ask – get help
Need to find or do something on this site? Try this, in the suggested order:
- Type your query in the omniscient Search box in the tab menu or here. This entire site will be searched and results displayed.
- While on a page press Ctrl+F on your keyboard, at the lower left corner within the box, type in the word(s), to find them on the page. (This works for many browsers!)
- Browse tips from Cepat and Rockefeller. Read or watch the tutorials (under development).
- Select the Help button at the top of your login screen or CUNY Academic Commons help.
- Ask the site administrator, currently the OER and Open Access Adjunct Librarian
- Ask the Academic Commons administrator- Click “Send us a message” or join the Group of Administrators (they are wiser than Rockefeller).
Don’ts on the Academic Commons
- The AC does not permit iframes from OneDrive sharepoint for security reason.
- Do not upload a file that is more than 40MB.
- For embedded PPT slides and PDF, files cannot be more than 10MB.
- Uploaded files are stored in Media Library. Linked files are not, unless they are downloadable links from your Media Library.
- You cannot create folders in the Media Library.
- Do not delete a reusable block (unless it is one that you have just added, and it has not been used). This delete cannot be undo. To remove a reusable block from a page, select Remove Block.

This site’s home and menu pages use the Default Template
Page templates are for pages. Page breaks are for posts.
There are three page templates, set under Page Attributes: (1) Default Template, (2) Front Page Template and (3) Full-width Page Template, No Sidebar. Select the template when creating a new page or change it any time.
A very long post can be broken up into “pages” by inserting the “Page Break” block. At the bottom you will see Page 1, 2, 3, etc. There is no quick way to change the word “Page” to something else.

This site’s home page and main sidebar
Understanding the Default Template and that it is used for most of the site page is critical in laying out and customizing pages.
- This site was created from the Academic Commons Teaching Template, which is based on the free WordPress (WP) Twenty-Twelve Theme.
- The Teaching Template uses the Default template as the front/home page and all but the post page. The Twenty-Twelve Front Page is different (see below).
- The Default template has the Main Sidebar for widgets preset with three widgets: Search, Recent Posts and Recent Comments. The Main Sidebar has been changed in for this site to have two widgets: Navigation menu and Creative Commons license. Sidebars on a mobile phone will appear at the bottom of the screen.
- If a Featured Image is included, it appears on the right side, if there is no sidebar, and in the middle, if there is a sidebar. It is not visible in the editing window and its selecting is done in Document settings.
- Selecting Full-width Page Template, No Sidebar removes the sidebar.
- For this site, a customized sidebar has been created with an image (Galaxy 2 painting) to replace the Main Sidebar for posts.

Site page specifications in pixels
- The main column width is 625 (about 6.5 inches on a computer screen) except in the full-width layout where it’s 960; sidebar width is 250.
- Featured image width is 624 (height is flexible)—these images are displayed on pages and on “standard” posts.
- For a header image, use 960 by 250 (width, height). The width is limited to 2000.
Top menu pages

The top menu pages–Biology, Chemistry, Physics and Astronomy, Resources, Project, Students pages–use the Default template. An image, Cover image or Featured Image will span the left column (about 3/4 of a computer screen). (The Home page is discussed above, and the Search page has its settings).
- For these menu pages, the sidebar is the First Front Page Widget Area with two widgets: Image (Fantasmagoria painting) and Creative Commons license.
- These pages have child pages. For example, each of the individual Chemistry course is a child of its parent Chemistry page. The child page is full-width, so an image can span the entire width of the page.
- Only the administrator should change the top menu pages.
The WP Front Page Template
The WP Twenty-Twelve Front Page Template attributes:
- It has a two-column format. If no Featured Image is selected, the content spans about 3/4 of the width on a computer and the entire width of a tablet and mobile phone. If there is a Featured Image, that image appears in the right column for a computer and tablet, and it is stacked below or above for a mobile phone.
- The bottom of the page has two widget areas (labeled “First Front Page Widget Area” and “Second Front Page Widget Area” (goes right below the First).
- There is no Sidebar.
Designating child-parent page relationship
Parent and child pages affect how a site map displays the pages for navigation. A parent can have several child pages. A child can designate only one parent. A page can have no parent.
A child page cannot designate a parent page that is private or a draft. One solution is to make public the parent, create the child page, set the parent page, and then go back to the parent page and reset visibility to private.
On this site, the top menu pages are parent pages. Child pages of the Biology page, for example, include a syllabus page, a lab page, and so forth. Child pages of Resources provide additional details for the topics listed on that page.

Changing text and background size and colors
Page title and headings
- This site uses the color scheme in LAGCC_Visual ID Guide_Brandbook_2016 for headings.
- Other than the title heading (LAGCC primary color red C4262E), each heading can be changed in the Block setting per block. Select Custom Color under Text Color or Background Color. Enter # and the 6 number/letter HTML code (e.g. #887b1b).
- The two linked sections headings on this page has the color 887b1b, with font size set at 25. Other color options: 6E273D (burgundy) ACC0C6 (greyish blue) and C2C2A0 (tan, which is used on the Resources page).
- The 6E273D is the Heading 2 color on this page.
- LAGCC tertiary colors are C75B12 (orangish) and F2AF00 (yellowish).
- Black is #000000 and white is #ffffff.
- If you copy and paste a block, it will also copy the color and font styling.
Paragraph text blocks
- The site’s default paragraph text color is ?. Why not black text for more contrast? Too much contrast can strain the eyes. The wise ones have recommended this default color.
- The site’s default paragraph background color is ?. For example, Course Description has the background color f3b3b3b and text color f0f4f5.
Editors please share your customization as others may want to apply the same.
Disable editing for a linked file on OneDrive
Disable editing when linking to a file on OneDrive or another cloud storage, unless you want to allow the user to edit and change the linked file.
Folder and file naming
- Avoid illegal characters such as #,$,%,@,*,(,) and /.
- Use a hypen between words
- Keep it short – less than 32 characters

Embedding a Microsoft Office Powerpoint Presentation
This methods is being used until the Academic Commons provides a customized code to embed directly from OneDrive sharepoint.
- Upload PPT to the Media Library. File size limit is 10 MB. Split up a large file into parts as need and end the file name with part-1, part-2, and so forth. When creating the PPT, compress images to reduce file size.
- On the page, insert a Document block (or type /document). Select file from Media Library. Apply these settings: w 100% h 100%, show downlink for all users, download text: download and viewer: Microsoft Office online. These settings can be changed later, when you select the block.
- For a wide size, 98% h and 100% width seem better, as shown on the Lab Safety page, because there is less black space on top and bottom.
The viewer can see the slide on full and accessible mode, play, download as PPT and as PDF. Animation works. Sounds and videos have not been checked, but they might result in a large file size.
Embedding YouTube, PDFs, Google files, and Sketchfab
- Instructions for embedding Google files (documents, presentations, spreadsheets, and form).
- To embed a PDF, add the PDF to the media library first. Add the PDF Embedder block in search box. Click in the box to select the PDF file from the Media Library.
- To add a YouTube video, copy the URL and paste it into your page/post.
- For Sketchfab, copy and paste URL into post/page. (The JetPack plug-in has been installed and activated.) It will look something like this:
https://sketchfab.com/models/221a604282d449978cbcc4b5351bfe18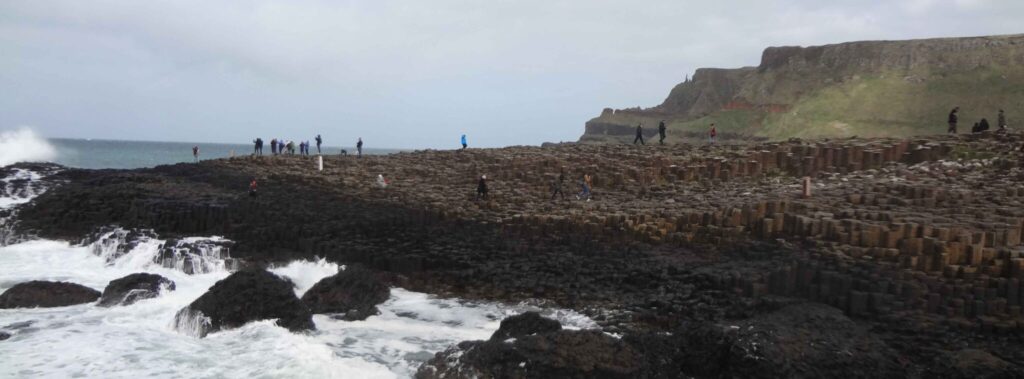
Downloadable files link
- Upload file to the Media Library.
Accepted file types - Select edit. At the top right side, find the box File URL, click “Copy URL”.
- Paste the URL to a descriptive name (e.g. Lab 1 folder) on the page/post or create a link.
- The file is automatically downloaded (or depending on user setting, asked where to save it), when a user clicks on the hyperlink.
To create the link while you are on a page, insert a File block tor type /file and upload or select file from Media Library. You can edit the file name and also copy the file URL.
Zip file not supported – Create a hyperlink
The Academic Commons does not support a .zip format, so you cannot zip files into a folder and upload it. You can copy the share link- URL for the folder containing the zipped folder or all the files and create a hyperlink to it on your page.
Jump links with a page or from an external site
Jump links can be used to link one part of a post or page to another part of the same page or another page on the site. Most of the pages on this site are designed with a list of content at the top. Each item is linked to its heading below.
Steps for using jump links within a post or page:
- Click on the heading to be linked. In settings, in Block tab, click arrow down in “Advanced” and enter a word or two in the box below HTML anchor.
- Copy the word(s).
- Go to where you want to link, click link or Ctrl+K.
- In the UR type # and paste the word(s).
If you have added a page break to a post, the URL has a “/2” at the end. You need to copy the URL for the second page and follow step 3 above.
When you are linking to a section from an external site, copy the URL with the jump link so you can link directly to it rather than the top of the page. Tip: Select and copy the words from an itemized list of contents or menu.
Speed of a Slow Loris
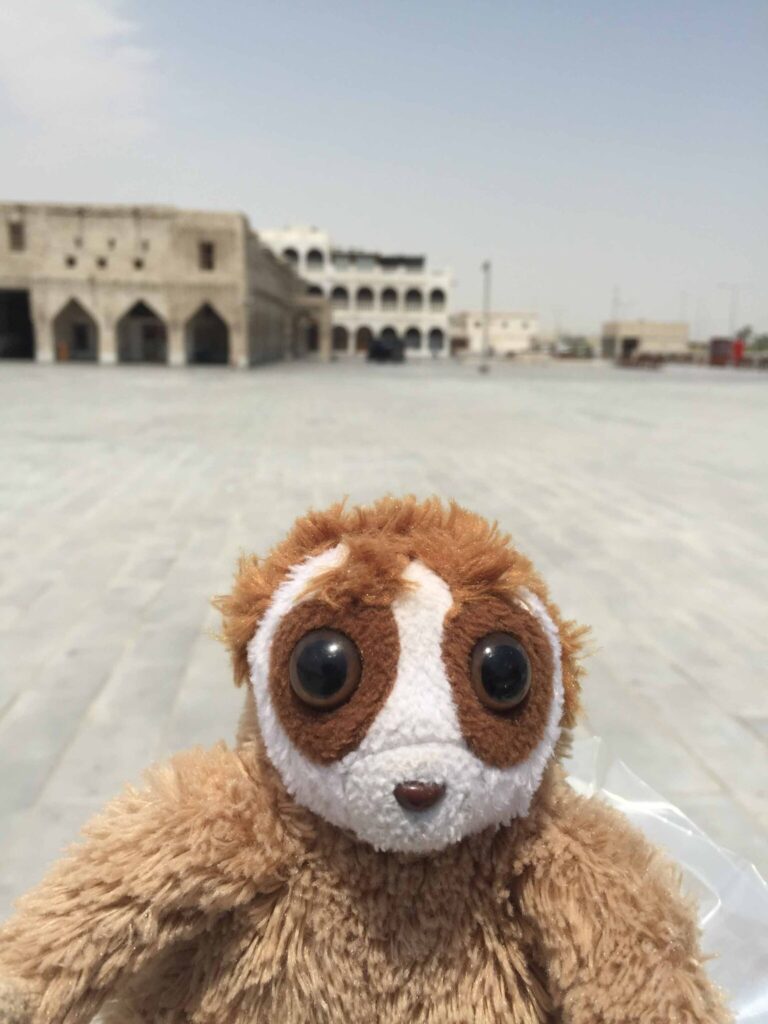
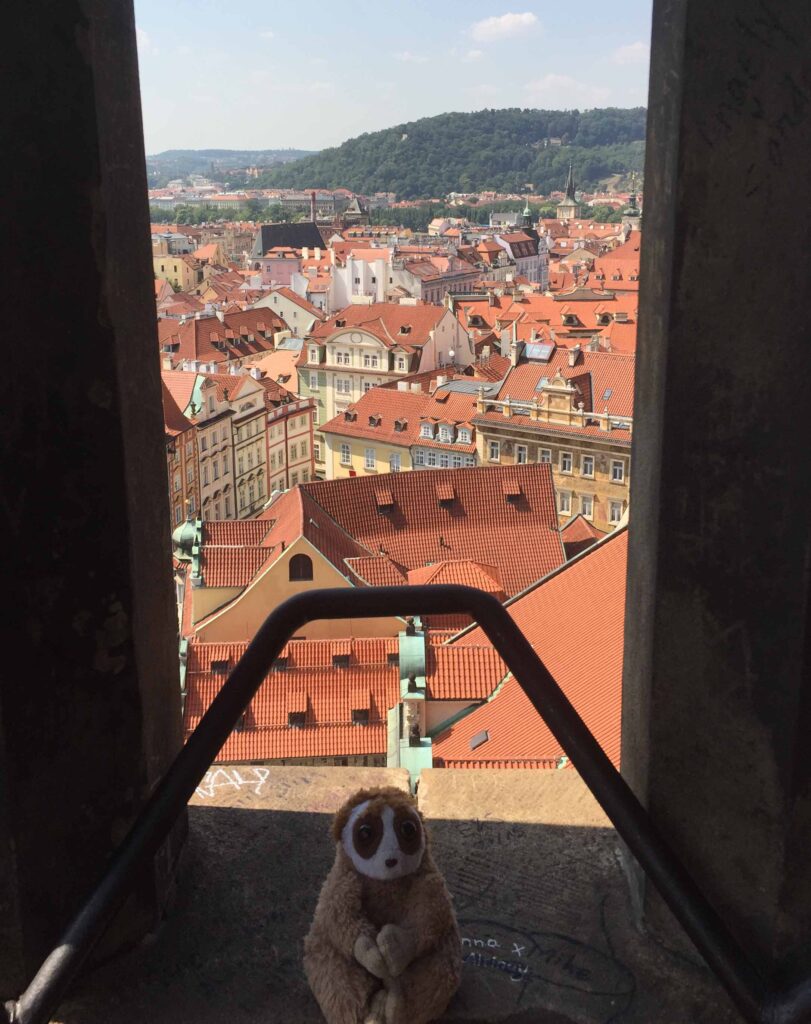
Meet Cepat, a slow loris. Cepat means “speed” in Indonesian (Bahasa), where slow lorises are indigenous. Cepat has traveled the world and the WWW to find time-saving tips on authoring and editing on this site. A snapshot from Cepat’s global travel is shown with each tip.
Cepat is not endorsing the listed products or linked sources. He welcomes corrections and suggestions.
Snapshot: Cepat in Doha, Qatar
Download a mirrored copy of this or other site

Download a mirrored copy of this or other site with HTTrack or a similar web copier software. Comply with Copyright laws.
Snapshot: Cepat and Einstein, Vienna, Austria
Learn and use keyboard shortcuts
Many shortcuts for PC that work on any software program also work here!
- Ctrl + A (select all), Ctrl + X (to cut), Ctrl +C (to copy) and Ctrl+V (to paste)
- Ctrl+S (to save/update), Ctrl +Z (to undo), Ctrl + K (to link)
- Shift + Enter (Line Break)
- Ctrl+Alt+T to insert a block before the selected block, and Ctrl+Alt+Y to insert a block after.
- Backspace to delete
- Type / and name of block to quickly insert a type or reusable block
Shift+Alt+H to show keyboard shortcuts. List of keyboard shortcuts
Snapshot: Cepat, St Mark’s Campanile, Venice, Italy
Save time and ensure consistency with reusable blocks
- Save a block or group of blocks as a reusable block, for anything that will be repeated or as a template to modify.
- Click the block and three dots and select “Add to Reusable Blocks”
- A whole page can be cloned by Ctrl+A (select all), select group, and “Add to Reusable Blocks”, and named.
- When a reusable block block is changed, all instances are automatically changed across the site.
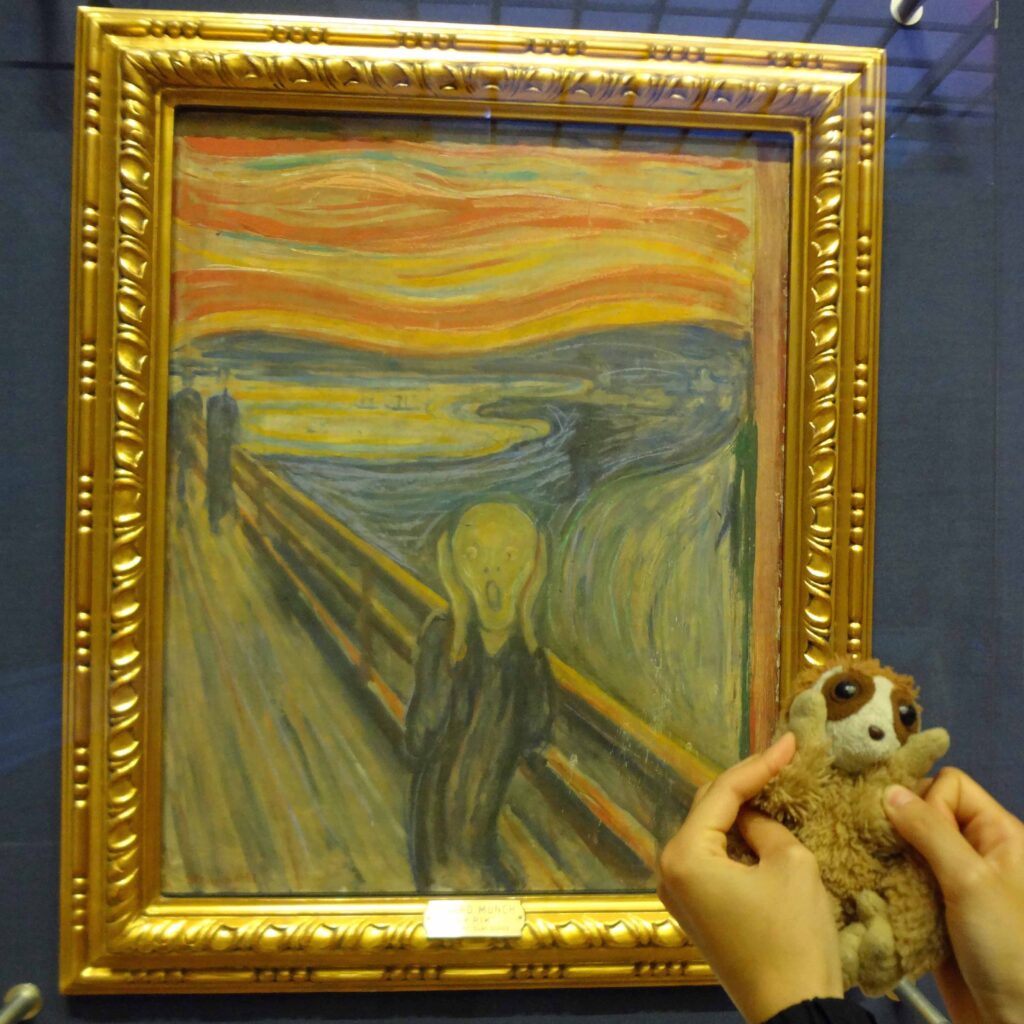
Snapshot: Cepat with “The Scream”, Munch Museum, Oslo, Norway
Clone or duplicate a block

To clone or duplicate a block or group of blocks:
- Press Ctrl+Shift+D or Click three dots and select Duplicate. The exact block or group will appear immediately below.
- Edit as needed.
This method is useful when the content is used only once. Otherwise, try a reusable block (above). You can also copy the block (Ctrl+C) and paste it (Ctrl+V) anywhere and then make changes as needed.
Snapshot: Cepat in front of his favorite noodle shop, Yangon, Myanmar
Create a new course page with a reusable block
A reusable course page block has been added for each discipline. For chemistry, add a block and type /ChemistryCourseTemplate. View. For biology, type /BiologyCourseTemplate. View. For physics or astronomy, type /PhysicsCourseTemplate. View.
Follow these steps:
- Click the three dots in the block tool bar and select Convert to a Regular Block.
- In Document Page Attributes, select “Full-width Page Template, No sidebar”.
- Edit and replace contents as relevant.
Note: Because there are several reusable blocks within a course page, to edit each, first convert it to a regular block.
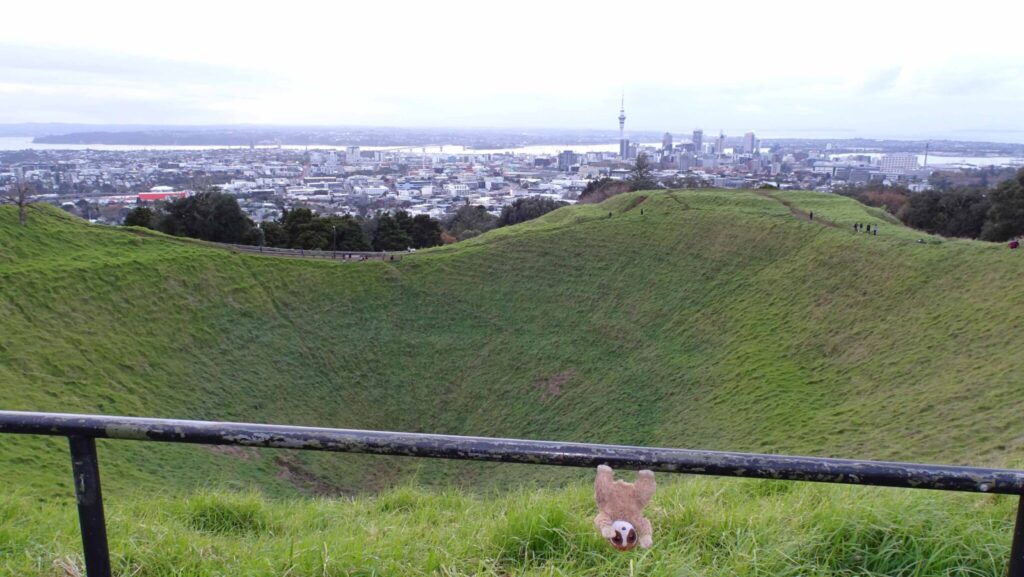
Snapshot: Cepat, Mt. Eden volcano cone, Auckland, New Zealand
Make your web page accessible

- Use headings (h2, h3, etc) to structure and organize contents
- Add alt-text to images
- Use lists to itemize
- Use a meaningful or descriptive text with a link. (e.g. Use Fill out survey not Fill here)
- Use readable font size and color contrast
- Install and check accessibility with WAVE
- Follow Universal Design guidelines
- Make your downloadable files accessible.
- Visit the Resources page for more tips and how-tos
Snapshot: Cepat co-piloting plane over Knit Glacier, Alaska
Use a short YouTube URL

Select Share under the YouTube video and copy the URL. Use the title of the YouTube as the descriptive name for the link, shortening it as needed.
To use youtu.be manually, take a URL like http://www.youtube.com/watch?v=FdeioVndUhs and replace the “http://www.youtube.com/watch?v=” with “http://youtu.be/” to get: http://youtu.be/FdeioVndUhs.
Snapshot: Cepat at the Shwedagon Pagoda, Yangon, Myanmar
Reduce file size for the web and avoid embedding a PDF
- Screen readers cannot read an embedded PDF.
- Embedding slows the site and consumes data.
- Use a downloadable link, instead, and let users know that Adobe Acrobat Reader is free to download to read and fill out PDFs.
- Tag the PDF for accessibility and fill out the title field. Use the “Make Accessible” action wizard.
- Optimize or compress the PDF for the web. (e.g. for Acrobat Pro DC, click “Reduce file size.”
- Avoid embedding more than 10 pages.
- Other PDF tips from Nielsen Norman Group.
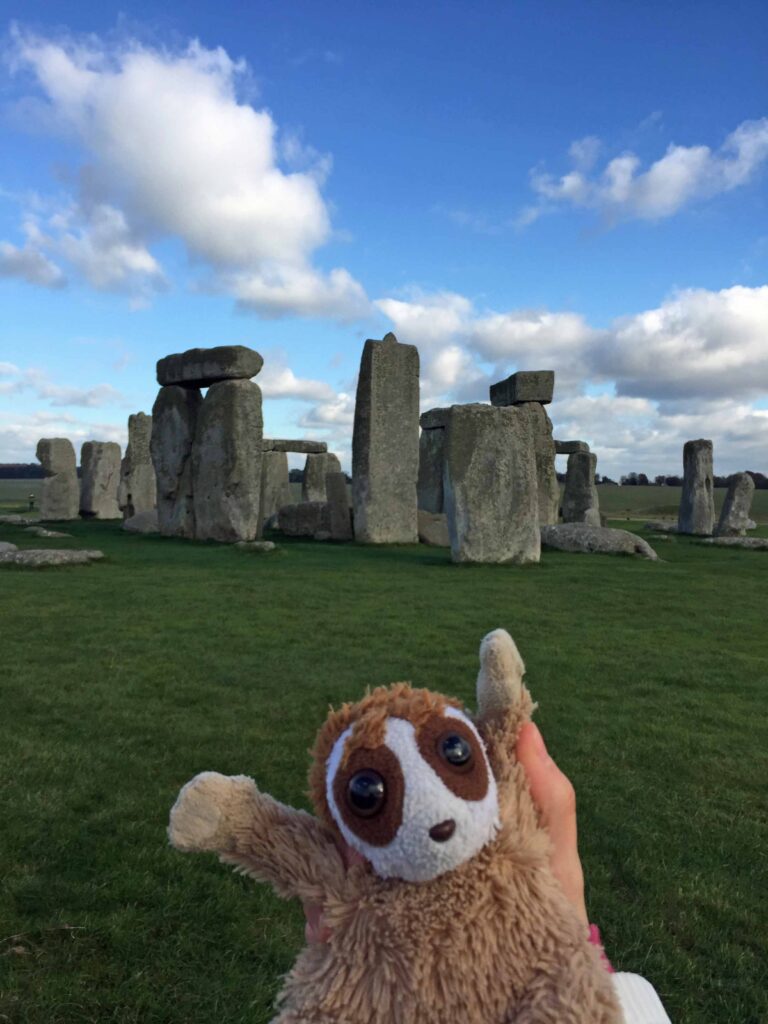
Snapshot: Cepat at Stonehenge, England
Create a PowerPoint presentation page with a template

- Visit Lab Safety to see the layout that you can use and adapt.
- Create new page and add title.
- Add a block and type /Powerpoint–view-guide (a reusable block that is the text before the slide frame). Convert to a regular block.
- Change the filename and link, and other text as appropriate for your content.
- Insert a heading 2 to describe the slides.
- Follow Rockefeller’s tips (above) for embedding PPT slides.
- Repeat steps 5 and 6 for all the parts.
Snapshot: Cepat eating snails, West Lake, Hanoi, Vietnam
Attach unattached files

- Find files quicker by adding a course number to the filename (e.g. scb101-syllabus) and attaching them to their page/post.
- Files uploaded from within a page/post are attached to it. Files loaded to the Media Library are “Unattached,” even after they are added to a page. In the Media Library, click Attach Link to attach a file or use Bulk Action to attach several.
- You cannot un-attach an image from its page.
- You cannot attach one image to multiple pages. Create a reusable block to add the same image on multiple pages or upload image at each page location.
Snapshot: Cepat climbing Mt. Floyd, Bergen, Norway
Replace or edit an image
- Instead of deleting an image to include a different image, select the image, click “Replace” and select image from Media Library or Upload it.
- Edit image: Select the image, click Replace, click Edit image, make the changes and save. If this does not work, go to Media Library to edit then follow step 1.
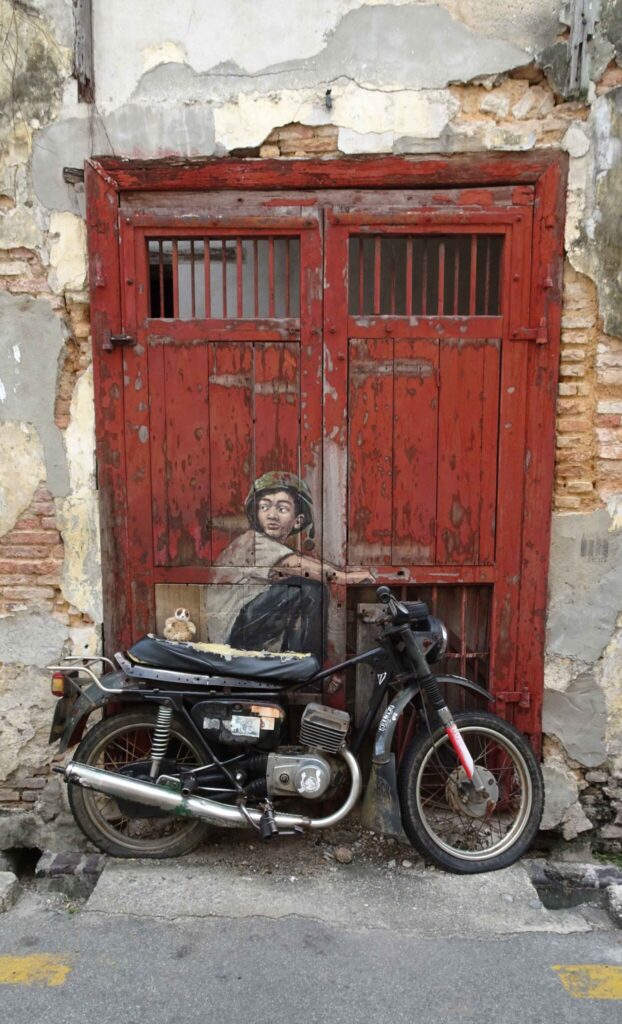
Snapshot: Cepat getting a ride, street art, Penang, Malaysia
How-Tos Guides
On-line and downloadable guides
To read an overview of the WordPress block editor: https://wordpress.com/support/wordpress-editor/
- Block editing
- Images
- Media Library
- Administrator Guide
- Online Syllabus
- Online Lab
Creating a Table of Contents/Home page for an adapted OER textbook
CUNY online asynchronous workshops and help page:
- Getting Started on the CUNY Academic Commons (Provides links to sample course groups and sites)
- Building a Group Workshop
- Building a Course Site Workshop
- Teaching and Learning section of the Commons Help page – more directions for teaching on the Commons.
Want to experiment and play around with the site and creating and mixing content on an Academic Commons site? Stay tune for the launching of the OER Sandbox.
Video Tutorials
NSD OER Portal Channel videos
NSD OER Portal Channel (available to the CUNY community). This video channel on Microsoft Stream gives an overview of this site and include how-tos video tutorials for site editors and authors.
Site editors and authors who have been given access to the shared OneDrive LaGCCNSDOER folder, may view them at this file path: LaGCCNSDOER\NSDOER_portal\Tutorials
WordPress Video Tutorials
Go to WordPress support tutorials and view by topics.
YouTube Video Tutorials on the WordPress Block Editor
Search for how-tos and start with these videos:
WordPress Gutenberg Tutorial: How to Easily Work With the Block Editor (nice overview and helpful shortcuts. Also explains difference between classic and block editors.)
https://www.youtube.com/watch?v=JjfrzGeB5_g
A shorter video of the basics are covered here: WordPress Gutenberg Editor – Quick Start Tutorial (skips first 40 seconds).
https://www.youtube.com/watch?v=rld_XRvAOfs
Video Tutorials for Other OER Platforms
MyOpenMath training videos (access for LAGCC faculty) Any faculty who has created an instructor account can view the training videos at MyOpenMath.
See MyOpenMath Help for instructions on creating an instructor account and registering and logging in as a student.
Student Overview
This video is an overview of using MyOpenMath for students.
Attribution: Photos of Rockefeller’s favorite places and of Cepat and Rockefeller are copyrighted by Van Bich Tran, and licensed under a CC BY-NC 4.0 Creative Commons license.

